Your cart is currently empty!
Are you ready to dive into the world of Odoo 18 on your MacBook? This guide will walk you through the installation process in a super simple, step-by-step way. Let’s make tech fun and easy together! 🚀
Step 1: Set Up the Basics (Prerequisites) 🛠️
Before we begin, let’s make sure your MacBook has the essentials:
1) Python 3.9 or Higher
Odoo runs on Python, so we need to check if it’s installed:
python3 –version
No Python? No problem! Download it here.
2) PostgreSQL
Odoo loves PostgreSQL for its database. Install it using Homebrew:
brew install postgresql
brew services start postgresql
3) Git
Odoo’s source code lives on GitHub, so you’ll need Git:
git –version
Missing Git? Install it with:
brew install git
Step 2: Clone the Odoo Repository 🖥️
Time to grab Odoo’s code and put it where it belongs.
1) Create a home for Odoo
mkdir -p ~/Documents/Odoo/18.0
cd ~/Documents/Odoo/18.0
2) Clone the repository
git clone https://github.com/odoo/odoo.git
cd odoo
3) Switch to version 18 (if needed)
git checkout 18.0
Step 3: Install Dependencies 📦
Let’s grab everything Odoo needs to work smoothly.
1) Install Python libraries
pip install wheel
pip install -r requirements.txt
2) Install PDF report dependencies
brew install wkhtmltopdf
Step 4: Configure PostgreSQL 🗄️
Odoo needs a database to store all your data.
1) Open PostgreSQL
psql postgres
2) Create a user and database for Odoo
CREATE USER odoo WITH PASSWORD ‘odoo’;
CREATE DATABASE odoo;
ALTER ROLE odoo SET client_encoding TO ‘utf8’;
ALTER ROLE odoo SET default_transaction_isolation TO ‘read committed’;
ALTER ROLE odoo SET timezone TO ‘UTC’;
GRANT ALL PRIVILEGES ON DATABASE odoo TO odoo;
\q
Step 5: Configure Odoo ⚙️
Now, let’s get Odoo ready for action.
1) Create a configuration file
mkdir -p ~/Documents/Odoo/18.0/config
nano ~/Documents/Odoo/18.0/config/odoo18.conf
2) Add this content to the file
[options]
db_host = localhost
db_port = 5432
db_user = odoo
db_password = odoo
addons_path = /Users/phathaphonsawettaboot/Documents/Odoo/18.0/odoo/addons
logfile = /Users/phathaphonsawettaboot/Documents/Odoo/18.0/odoo/odoo.log
Save and exit with Ctrl + O, then Ctrl + X.
Step 6: Set Up a Virtual Environment 🧪
A virtual environment keeps things tidy.
1) Navigate to your Odoo folder
cd ~/Documents/Odoo/18.0
2) Create the virtual environment
python3 -m venv odoo-venv
3) Activate the virtual environment
source ~/Documents/Odoo/18.0/odoo-venv/bin/activate
You’ll see (odoo-venv) in your terminal. 🎉
4) Install the dependencies again (just in case)
pip install -r ~/Documents/Odoo/18.0/odoo/requirements.txt
Step 7: Run Odoo 🎉
Time to bring your Odoo to life!
1) Navigate to the Odoo folder
cd ~/Documents/Odoo/18.0/odoo
2) Start the server
./odoo-bin -c ~/Documents/Odoo/18.0/config/odoo18.conf
3) Open your browser and visit: http://localhost:8069
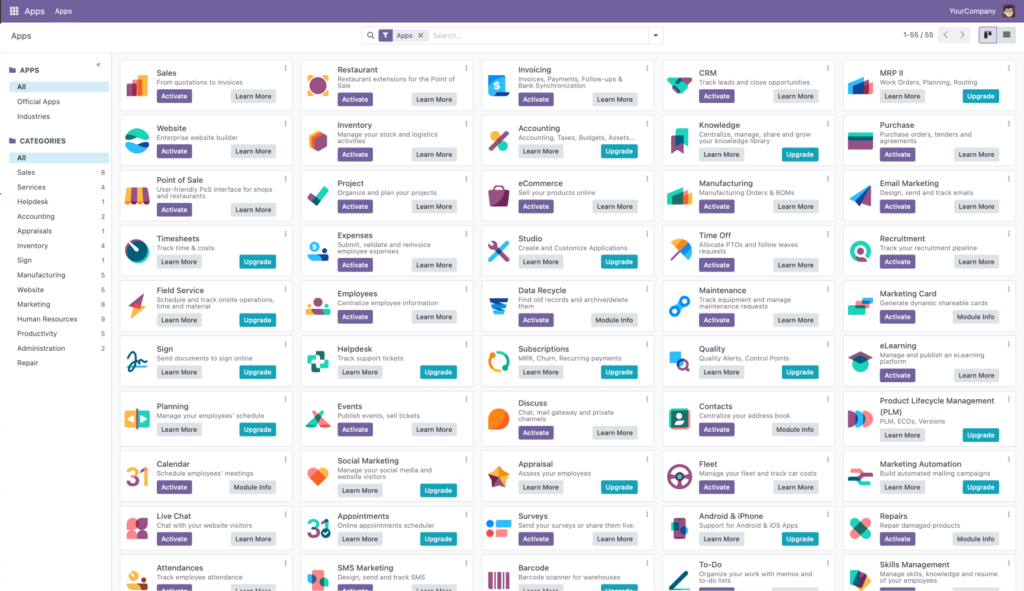
Voilà! You should see the Odoo setup screen. 🎊


Wrapping Up 🎀
Congratulations! You’ve just installed Odoo 18 on your MacBook like a pro. Now you can start exploring, customizing, and having fun with Odoo.
Pro Tip: If you encounter any issues, drop me a comment—I’d love to help you out. 💬

Leave a Reply